


Delta
-
Posts
32 -
Joined
-
Last visited
Delta's Achievements

Advanced Member (3/9)
4
Reputation
-
 LouCyffer reacted to a post in a topic:
Milltek downpipe & high flow cat
-
Cool I will have a search for one Marshy thank you 👍
-
Ops sorry wrong section thanks LouCyffer.
-
HI all, I just need to conform I have a Milltek cat back at the moment, I have ordered a Milltek down pipe and high flow cat (200 cell) will this show up an engine check light at all? I have a JB4 as well. thanks all 😎
-
hi speedjester, it was very easy to install and the power different is huge I went straight to map 2! you will be blown away go for it..
-
MattM7R reacted to a post in a topic:
Milltek Exhaust Tips.
-
whats peoples thoughts should the tips be sticking out a bit more? at the moment there flush with the diffuser. ☺️
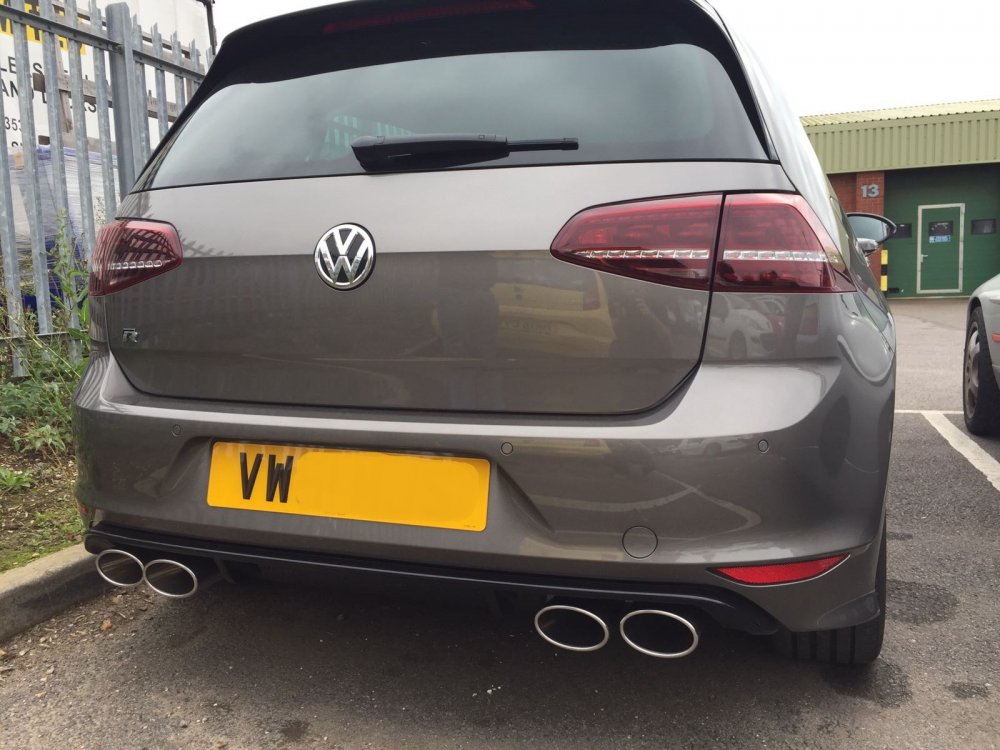
-
Rob2k68 reacted to a post in a topic:
Golf R Estate 7.5
-
Sell with upgrades or revert closer to stock?
Delta replied to TomGolfRmk7's topic in Modifying your Golf R MK7
I would sell the mods separately, you will get more cash back. -
Dazza, OEM Tips are 105mm - 75mm
-
never too late 😀 thanks Andy I will contact Regalautosport to see if they have a golf r that's APR staged 2 tuned and get them to take me out in it to get a feel.
-
will do !
-
Essex that's a bit too far for a quick spin 😀
-
Hi Rory, congrats on your new R!. I don't have an estate mines a hatch I can tell you it will put a big smile on your face I'm on (JB4) map 2 with around 5.6psi more boost over stock. Where abouts are you I'm in Fareham Hampshire if your local I can take you for a spin if you like. Here is some info on the map settings. Map 0: Stock with complete pass through i.e. the JB4 does nothing Map 1: Tuned map with a average of 4.0psi over stock. This is the shipped map and is compatible for both 91 and 93 and can be used with cars on hardware. Map 2: This map is a more aggressive map. Peak boost add is 5.6psi over stock and the map is good for cars running 98Ron and above. Map 4: This is a stock map but with JB4 logging ability. It is also the starter map for cars that are running flash tunes and are stacking the JB4. It will give the ability to log the car via the JB4. This is also the safety map, so in any circumstance the JB4 detects a unsafe condition regardless of map it will default to this map. This includes knock detection, lean AFR or the boost safety value being triggered due to lack of boost control. Map 6: User adjustable boost map. The map comes preset with a 5.0psi over stock peak and is ready to use on any car running 93 octane. The preset map is also suitable for manual cars with clutch longevity in mind. The mapping can be done in two manners. If the value at 1500 is kept below 10 it will work as a boost adder map. If the value at 1500 is higher than 10 it will work as a absolute map. This means actual total boost targets will need to be entered. Map 8: Map three allows the JB4 to be the methanol controller working as a fail safe cutting boost if lack of meth flow is detected. You will require a Coolingmist FSB to get this working. User Adjustment page: Below is a outline of settings that can be changed in the User adjustment page: Map 6 (blue outline): as explained above
-
Perfect !!! Thank you Dean5i
